
 |
| Me and my crew at the zoo getting ready to do some science-ing |
As part of the journey to become a registered nurse through
the BSN program at IUPUI school of nursing, I was tasked to put my assessment
skills to the test and observe a stranger and an orangutan. Why an orangutan? Why
a stranger? By overserving someone or some mammal I am not familiar with and
have no communication with, I could focus on the visual aspects of an
assessment v. the verbal feedback I may otherwise rely on to help paint a clear
picture of what is before me. From this assignment, I was asked to determine
the general health of my subjects through observation only.
SPOILER ALERT!!!!
From my observation, my orangutan was healthy and my human was….not so much.
From my observation, my orangutan was healthy and my human was….not so much.
Lets take a closer look.
Subject #1 my orangutan.


Yes, it’s a he (because I say it is) and yes, he's mine.
(TRUTH:
I have no idea if it’s a boy or a girl and I completely forgot to ask the
zookeeper because I’d already made up my mind that it was a boy. Even one of
the sign’s in the enclosure failed to identify the gender so I’m not going to
worry too much about it.)

While watching these beasts bumble along in their enclosure I
really wasn’t too sure about their health. In all honesty, they looked
B.O.R.E.D. I’ve seen that look and slump on the faces of each of my kids
sometime around 4p on a Saturday afternoon, after Netflix has been exhausted
and all the friends seem to be out of town. What is to be done with such boredom? Send in
the cute little baby orangutan.
This guy. Oh my word this guy. How adorable? From observation,
he seemed to have it all together. He could navigate up and down the ladder, snuggle
with his mom, play peek-a-boo, and even annoy the big one in the corner. I
learned from a friendly employee at the orangutan
enclosure that when there are several orangutans out in the open space
together, they are typically female because the males like to wrestle for
dominance and sometimes that can cause problems. I also asked the zoo employee
how I could tell if the orangutan was healthy or sick. She must have thought
that was a strange question because she laughed. “well,” she started. “They are
a lot like humans. They can catch the same illnesses we can catch and they’ll
present will illness the same way. Look for runny noses and drowsy demeanor”
She also assured me however that if an orangutan was indeed feeling under the
weather, they wouldn’t be out in the observation areas.
My final question to the zookeeper was about his gate. I noticed that he seemed to rely heavily on the use of his arms to steady himself as he walked.
My final question to the zookeeper was about his gate. I noticed that he seemed to rely heavily on the use of his arms to steady himself as he walked.
She
chuckled and said, “he is still a baby he’s one-year old and he’s still
learning.” She stated that he is, in fact, using his arms to steady himself an
as he becomes more adept, he’ll be able to walk upright like the adult models
he has at the zoo. Information from Orangutan.org seems to support this idea as
well (https://orangutan.org/orangutan-facts/orangutan-behavior/)
“Orangutan
offspring will sometimes be carried until they are 5 years old and be
breast-fed until they are 8 years of age! Even when young orangutans are too
old to be carried and fed by their mother, they may still remain close to her,
traveling with her, eating, and resting in the same trees, until they are about
10 years old.”
So from my limited understanding, and trusting those who know
more than me, we’re going to say that my orangutan was indeed healthy!
 |
| wolverine hair |
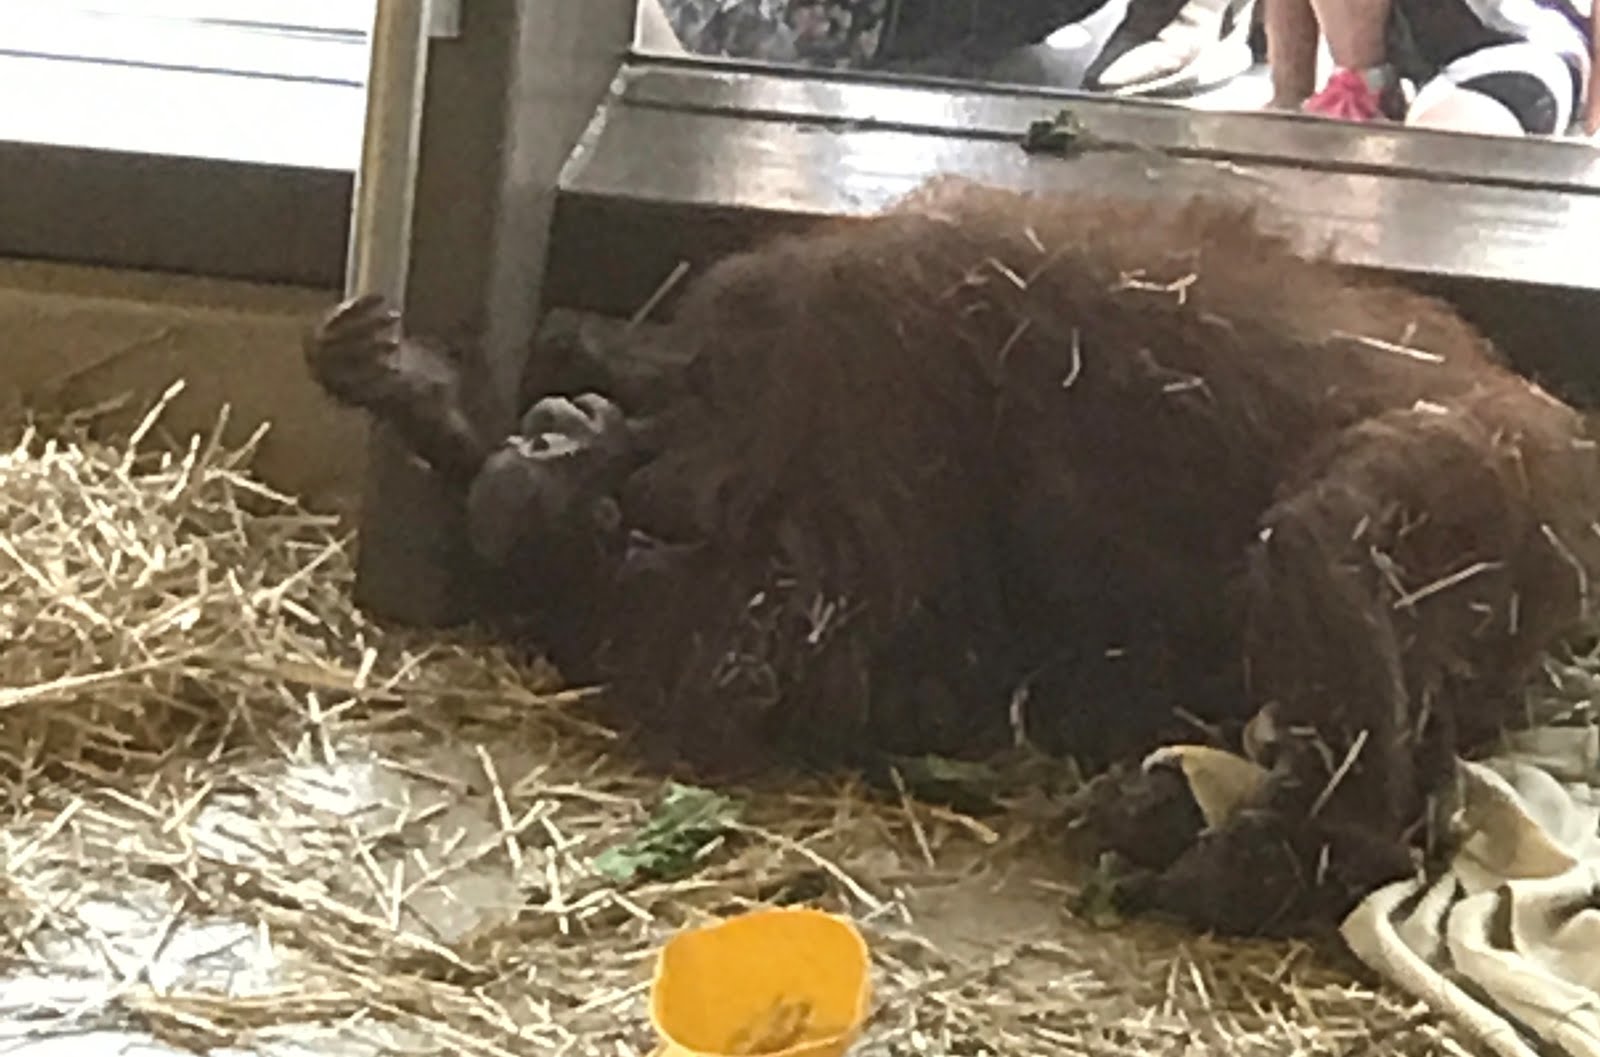 |
| Snuggles with Mom |
  |
| Playing Peek-a-Boo! |
Moving on to
subject #2: the human
This observation was a little easier than an orangutan because, as a human, I know a little about this species and therefore have general idea of what to look for with what is healthy and what is not.
Despite this subject leaning toward what may be considered
the “obese” side of the scale, that was not the first thing that caught my eye.
In fact, it wasn’t even the second. The first thing I noticed was her feet. They
were black. I’d never quite seen anything like that and it caused me to wonder
why. Usually when tissue becomes necrotic, it becomes black but this was
different. It wasn’t solid. There was still an element of vascular function. A
quick web search indicates that there are 4 possible causes to “darkened feet”
 |
Not my subject
(just a picture off the internet to illustrate what I observed
SOURCE: http://www.veinsurgery.co.za/images/lipodermatosclerosis.jpg)
|
TWO COMMON CONDITIONS
1.
Varicose veins
2.
Venous insufficiency
ONE SOMEWHAT COMMON CONDITION
1.
Pregnancy
ONE RARE CONDITION
1.
hemochromatosis
The second observation made was that the subject employed
the use of a cane to ambulate. She didn’t appear to have a limp therefore the
cane seemed to only be for weakness or stability. As I continued to observe the
subject, I noticed that she had limited mobility and had difficulty sitting
from standing and standing from sitting. Perhaps these issues were from the
problem in her feet, perhaps from her weight. Perhaps one begat the other and
there were other issues that lie in wait that could not be seen on the surface.
Perhaps if this individual was confronted about the status of her health she may say that all is well.
Perhaps she is adjusted to her condition and resigned
to this level of function. Perhaps if this individual was confronted about the status of her health she may say that all is well.
Without being able to complete the assessment with verbal confirmation and objective data from labs, the extent of health or lack thereof, is often difficult to ascertain from visual inspection alone but it often can give us a good place to start.


